 Save
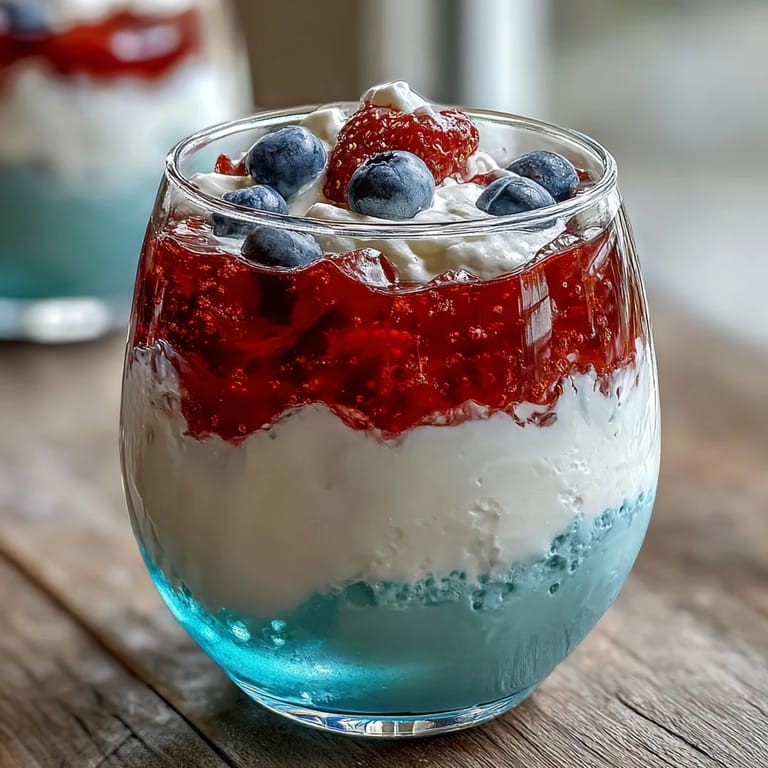
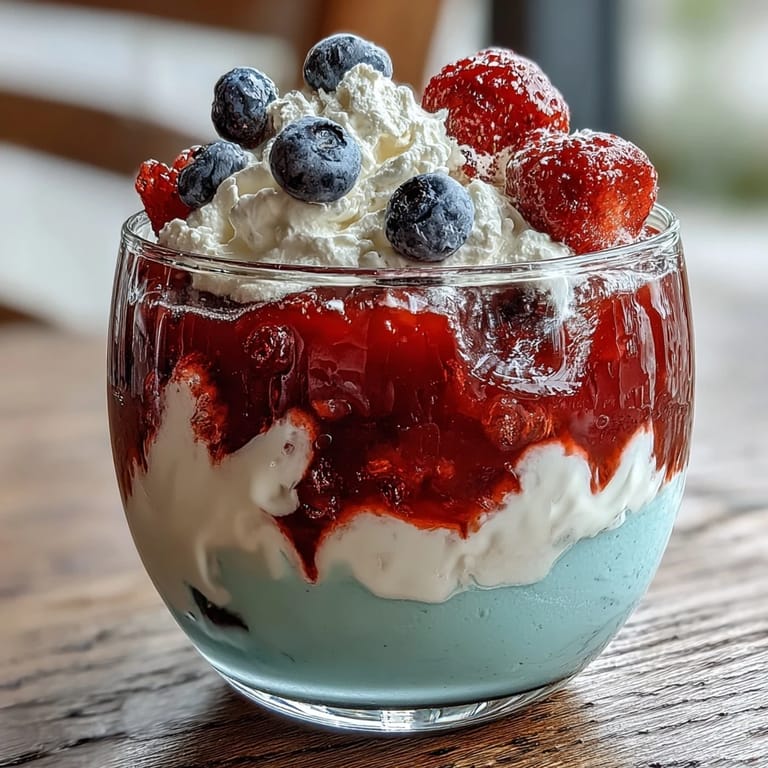
Save My neighbor knocked on my door one Fourth of July with a bowl of these layered Jello cups, and I was mesmerized—the way the light passed through each jewel-toned layer felt almost magical. She laughed at my reaction and said they were easier than they looked, which seemed impossible until I tried them myself. Now I understand: the magic isn't in complexity, it's in patience and the simple joy of watching something beautiful set in your refrigerator, layer by layer.
I made these for my daughter's school picnic, and watching the other parents' faces when they realized it wasn't store-bought dessert was worth every minute of layering. One dad asked for the recipe right there on the grass, Jello cup in hand, and I realized this humble dessert had somehow become the star of the table.
Ingredients
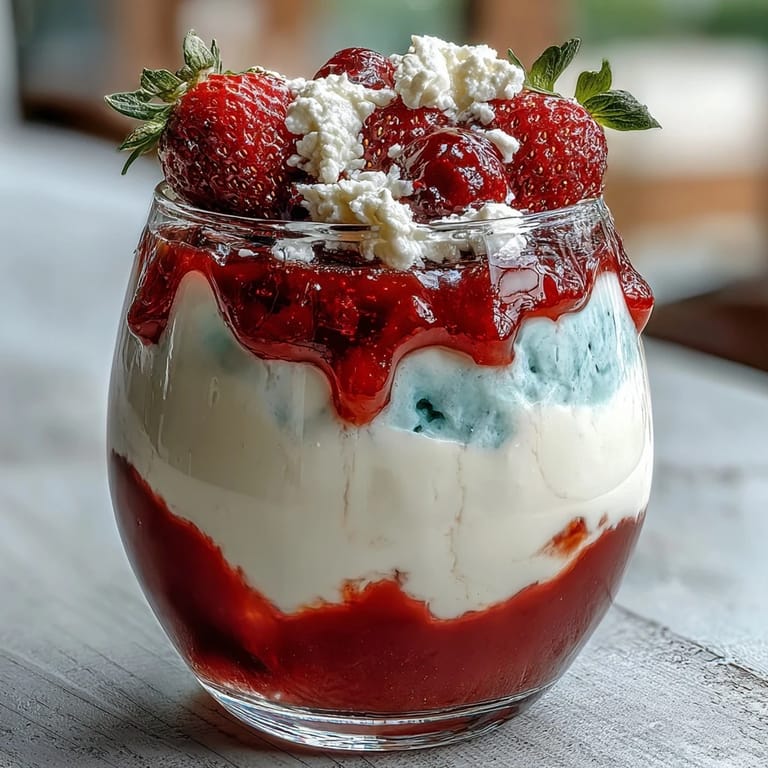
- Red Jello (strawberry or cherry), 1 box: This is your foundation layer, so choose a flavor you actually enjoy—it's the first taste people get, and it sets the tone.
- Boiling water (3 cups total, divided): Hot water is non-negotiable for dissolving gelatin cleanly; don't skip the heating step even if you're in a hurry.
- Cold water (1.5 cups total, divided): This cools the Jello so it sets properly without becoming rubbery.
- Unflavored gelatin, 1 envelope: This is the secret to the creamy white layer—it blooms first, which sounds fancy but just means sitting in cold water.
- Sweetened condensed milk, 1 cup: This creates that dreamy, opaque middle layer that looks almost like vanilla mousse; don't substitute it with regular milk or the texture falls apart.
- Blue Jello (blue raspberry), 1 box: The final layer—make sure your blue is truly blue and not purple-tinted, or the patriotic effect gets muddled.
- Whipped cream and berries (optional): These turn a simple Jello cup into something that looks restaurant-worthy on a plate.
Tired of Takeout? 🥡
Get 10 meals you can make faster than delivery arrives. Seriously.
One email. No spam. Unsubscribe anytime.
Instructions
- Gather your clear cups and set up your workspace:
- Grab eight clear cups (6 to 8 ounces works best) and arrange them on a tray—you'll thank yourself for thinking ahead. A muffin tin works beautifully for holding the cups at an angle during that first chill.
- Dissolve the red layer:
- Pour boiling water over the strawberry or cherry Jello and watch it dissolve—it should take about two minutes of stirring, and you'll know it's done when there are no grainy bits left. Stir in the cold water, then divide this among your cups, filling each about a third of the way.
- Chill the red layer at an angle:
- Tilt those cups in the muffin tin and slide them into the fridge for 45 to 60 minutes; this angle trick keeps the layers from sliding into each other later. You can feel when it's set by giving a cup a gentle tap—it should jiggle slightly but hold its shape.
- Prepare the white layer while waiting:
- Sprinkle unflavored gelatin over cold water in a bowl and let it sit for five minutes without stirring—this bloom period is what makes it dissolve smoothly. Add boiling water and stir until completely smooth, then pour in the sweetened condensed milk and let everything cool to room temperature, which takes about ten to fifteen minutes.
- Layer the white mixture:
- Once the red layer is firm, carefully pour the white layer over it, aiming for about two tablespoons per cup; go slowly and if you're nervous, pour it gently over the back of a spoon. Stand the cups upright now and refrigerate for another 45 to 60 minutes until the white layer feels set when you press it lightly with your finger.
- Prepare the blue final layer:
- Dissolve the blue Jello in boiling water, stir in cold water, and let it cool to room temperature—this cooling step prevents the warm Jello from melting the white layer beneath it. Warm Jello is deceptively dangerous to delicate layers, so patience here is everything.
- Complete the masterpiece:
- Pour the blue Jello gently into each cup, filling to near the top, then refrigerate upright for at least two hours. At this point, you can make them hours or even a day ahead, which is why they're perfect for parties.
 Save
Save There's something almost meditative about watching these cups sit in the fridge, knowing that in a few hours you'll have something that looks like you spent all day in a professional kitchen. My six-year-old likes to peek at them every hour, and I've learned to just let her—the anticipation is half the fun.
The Secret to Clean, Sharp Layers
The difference between beautiful striped cups and a muddy, blended mess comes down to one thing: knowing exactly when each layer is set enough to hold the next without deflating. I learned this the hard way by pouring too early and ending up with watercolor art instead of stripes. Now I use the gentle-tap test—if the layer jiggles just a tiny bit but mostly holds firm, it's ready for the next layer.
Why the White Layer Matters
That creamy white middle isn't just pretty—it's the flavor surprise that makes people pause and wonder what they're eating. The sweetened condensed milk gives it a subtle vanilla sweetness that balances the tartness of the Jello layers perfectly. Without it, you'd just have red and blue Jello, and while that's still festive, the white layer transforms it into something more interesting.
Timing, Flexibility, and Last-Minute Saves
One of the best things about this recipe is its flexibility with timing—you can make it the day before a party, or throw it together just a few hours before serving if life gets hectic. The cups actually taste fresher when made no more than two days ahead, and the layers stay gorgeously distinct if you store them properly in the fridge.
- If you're short on time, make just one or two layers instead—even a two-layer red and blue version is striking and takes half the chilling time.
- Swap the flavors around based on what's in your pantry; lime and orange Jello work beautifully if you're thinking of a different color scheme.
- For dairy-free guests, coconut milk mixed with a bit of sugar mimics the sweetened condensed milk surprisingly well in the white layer.
 Save
Save These cups remind me that the best desserts don't have to be complicated to be memorable—they just have to be made with care and served with a smile. Every celebration feels a little brighter with these jewel-toned Jello cups on the table.
Recipe Guide
- → How do I achieve sharp, distinct layers?
Allow each layer to fully set in the refrigerator before pouring the next one on top. Using angled chilling for the first layer helps create clean separation.
- → Can I substitute dairy ingredients?
Yes, replace sweetened condensed milk with coconut milk and sugar to make a dairy-free version while maintaining creamy texture in the white layer.
- → What flavors work best for the colored layers?
Strawberry or cherry flavor is recommended for the red layer, and blue raspberry flavor works well for the blue layer, providing vibrant colors and complementary tastes.
- → How long should the cups chill before serving?
Each layer requires about 45–60 minutes to set, with the final blue layer chilling for at least 2 hours to ensure firm, distinct layers.
- → Are these cups suitable for gluten-free diets?
Yes, the ingredients are gluten-free, but verify gelatin and sweetened condensed milk brands to avoid hidden gluten.