 Save
Save Some desserts just have that wow factor that makes everyone stop and smile, especially when there are sprinkles involved. One spring afternoon, I found myself surrounded by donuts and an enthusiastic group of cousins, daring each other to build the tallest, most sparkly creation for our youngest sibling’s graduation. The kitchen was filled with laughter, powdered sugar, and a few attempts at balancing donuts that teetered just long enough to make us nervous. That’s how the Donut Tower tradition was born—a little messy, but always joyful. There’s something about constructing and decorating together that turns a simple treat into a centerpiece worthy of celebration.
During my cousin Kai’s graduation, a mini donut unexpectedly rolled off the cone and sent everyone into fits of giggles, making us pause for a group selfie mid-assembly. I don’t remember if we got the tower perfectly straight that day, but it was easily the hit of the party, and people still talk about it every year.
Ingredients
- Mini glazed donuts: Go for 36 bite-sized donuts, either homemade for a tender crumb or store-bought for convenience (always pick the freshest you can find).
- Powdered sugar: Sift it if homemade icing is in the plans, ensuring there are no clumps for glossy smoothness.
- Milk: Just a splash loosens the icing to the perfect drizzle—add gradually to avoid runniness.
- Vanilla extract: A teaspoon adds fragrance and warmth, balancing all that sweetness.
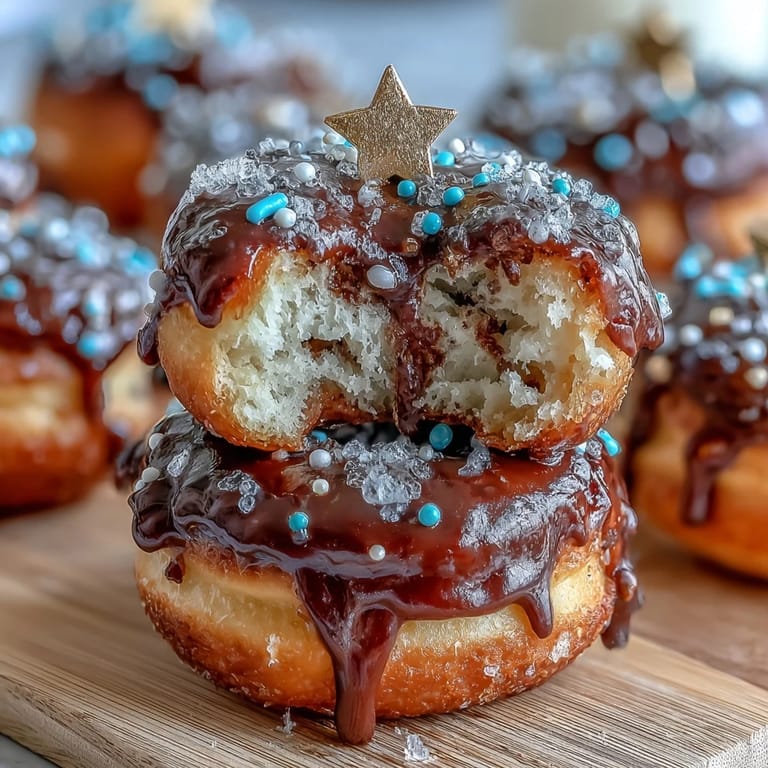
- Assorted colorful sprinkles: Choose a blend for bold pops of color—generosity is key here.
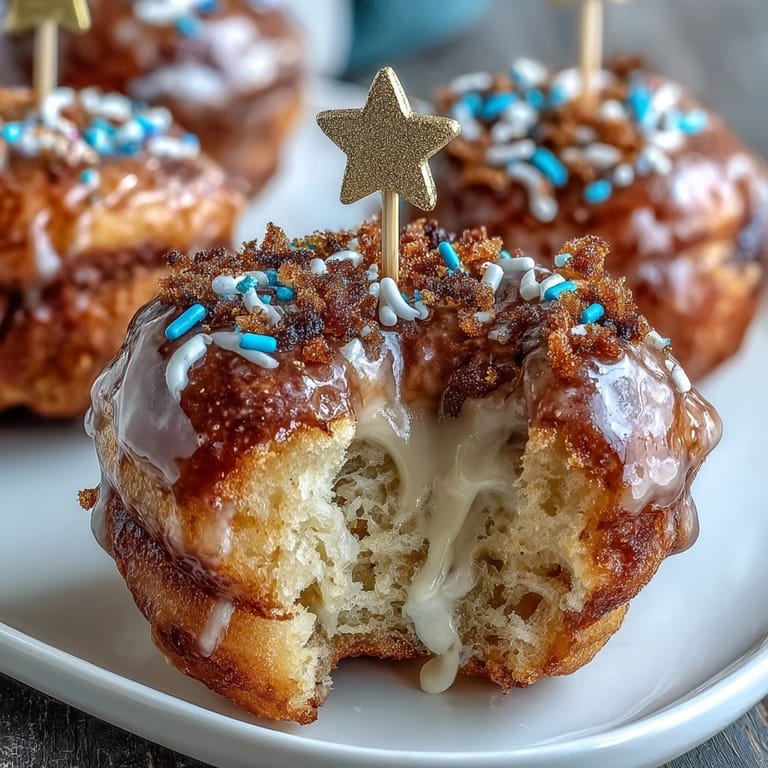
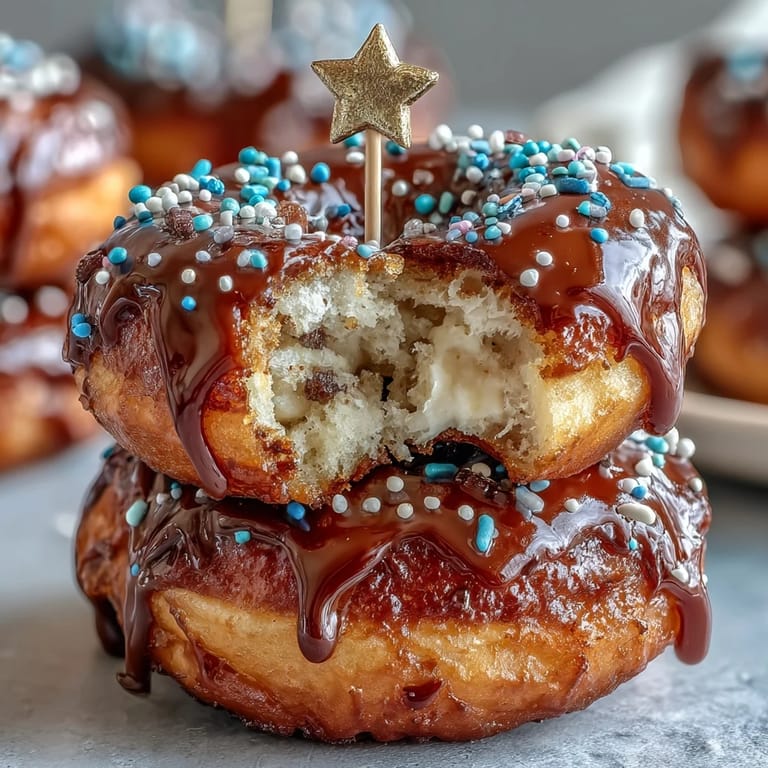
- Edible gold stars (optional): For extra sparkle and a nod to the guest of honor, these make the tower shine in the light.
- Graduation-themed toothpick toppers (optional): These instantly make things festive, and kids always seem to fight over who gets the tassel.
- Styrofoam or cone-shaped cake form: About 12 inches tall; anchors the whole tower, just remember it’s not edible.
- Wooden skewers or toothpicks: Essential for keeping donuts in place as you stack-upward with confidence.
Tired of Takeout? 🥡
Get 10 meals you can make faster than delivery arrives. Seriously.
One email. No spam. Unsubscribe anytime.
Instructions
- Get your donuts ready:
- If making your own, wait until they’re fully cooled before beginning assembly; store-bought donuts should be fresh and soft.
- Whip up a quick icing:
- Stir powdered sugar, milk, and vanilla in a bowl until smooth and slightly thick—you want a drizzle that clings to the donut tops.
- Decorate and dip:
- Dip the tops of each donut in icing and immediately shower with sprinkles, setting them aside for 15 minutes to let everything set.
- Prep the base:
- Arrange your styrofoam cone on a platter or cake stand, ready to become the centerpiece.
- Start stacking:
- Secure your first circle of donuts to the base using skewers or toothpicks, working from the bottom and slightly overlapping as you go up.
- Fill in the gaps:
- Add extra donuts wherever you see open spaces, pressing them in carefully for fullness and height.
- Add the sparkle:
- Finish with more sprinkles and stick on gold stars if you want a shimmery effect for the big day.
- Crown your creation:
- Top with a graduation-themed topper, then stand back and appreciate your handiwork before the party dives in.
- Serving and storing:
- Keep the tower covered at room temperature for up to two hours before digging in—after that, the urge to snack becomes irresistible.
 Save
Save I’ll never forget the satisfied silence that fell as everyone admired the finished tower before grabbing their first donut—suddenly, the dessert became a shared memory, not just a sweet treat.
Choosing the Perfect Donuts
After some trial and error, I found that mini donuts really are best for stacking into tall towers since regular-sized donuts tend to tip or crumble under their own weight. Mix up glaze flavors if you like, or add a few filled donuts for a little surprise in the middle—everyone loves discovering their favorite in the mix.
Donut Icing Success Stories
The key is to use just enough milk for a pourable consistency; if you go overboard, the icing slips right off. Working quickly while icing is just setting means the sprinkles adhere perfectly, and a parchment-lined counter saves you from sticky rings all over the kitchen.
Assembly Day Game Plan
Setting everything out ahead—donuts, icing, sprinkles, and skewers—turns assembly into a fun group activity with minimal stress. There’s something almost meditative about slipping the donuts on, adjusting them, and stepping back to see it all come together.
- If your tower feels unstable, gently press donuts closer together for support.
- Wipe any stray icing with a damp cloth for photo-ready results.
- Have extra sprinkles on hand for last-minute touch-ups—there’s no such thing as too many.
 Save
Save Building this donut tower is all about celebrating together—no matter how perfectly (or imperfectly) it turns out, it’s always a party centerpiece worth remembering.
Recipe Guide
- → How do I keep donuts from sliding on the cone?
Use short wooden skewers or toothpicks driven through each donut into the foam cone at a slight upward angle. Slight overlap between layers adds stability; chilled icing also helps anchor the donuts until set.
- → How long should icing set before assembling?
Allow dipped donuts about 10–15 minutes for the icing to thicken and stop dripping. Slightly tacky icing grips sprinkles and helps pieces adhere when skewered.
- → Can I prepare components ahead of time?
Prepare icing and coat donuts up to a few hours ahead, keeping coated donuts in a single layer until set. Assemble the tower shortly before serving for best texture and appearance.
- → What donut varieties work best?
Mini glazed or plain donuts are ideal for stacking. Mix in chocolate, filled, or flavored minis for visual variety, but ensure filled donuts are sturdy enough to be pierced without bursting.
- → How should I store the assembled tower?
Cover the tower lightly and keep at room temperature for up to two hours. Avoid refrigeration, which can cause glazes to sweat and sprinkles to lose shine.
- → Any allergy-friendly substitutions?
Use certified gluten-free mini donuts and check sprinkle labels for traces of nuts or soy. Offer clear labeling and separate utensils for guests with allergens.