 Save
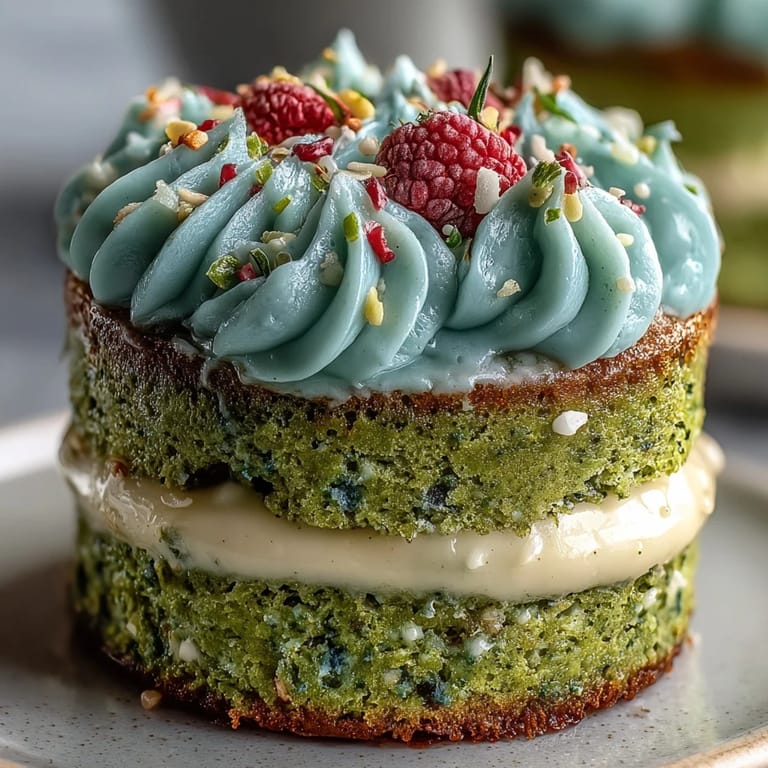
Save The morning I first tried making this mini matcha birthday cake coincided with a rainstorm that turned the whole kitchen mossy green. There was just enough sunlight breaking through to catch the swirling matcha powder as it tipped into the bowl, filling the air with its grassy perfume. I never set out to create a 'smash cake' for brunch, but the playful energy of stacking those petite, verdant layers felt instantly celebratory. We laughed over spilled sugar and took turns swirling the frosting into silky peaks. Something about the process made the day feel like a festive secret just for us.
Last spring, I baked this for a friend's birthday brunch; we barely waited for the layers to cool before sandwiching them together, laughing as we tried to keep the frosting contained. Someone started singing happy birthday, but the real celebration was in our crumb-smeared smiles and hands dyed faint green with matcha.
Ingredients
- All-purpose flour: The base of the cake, giving it that tender, fluffy crumb; I always spoon and level it to avoid a dense bite.
- Granulated sugar: Sweetens the batter just enough without overpowering the earthy matcha.
- Baking powder & baking soda: The duo ensures a beautiful rise; sifting them in makes all the difference.
- Salt: Only a pinch, but it sharpens all the flavors—don't skip it.
- Matcha powder (culinary grade): Start with a tablespoonthe color tells you when it's just right; sift well to avoid lumps.
- Whole milk: Room temperature milk blends evenly, preventing chunky batter.
- Large egg: Incorporates air and structure—for maximum fluffiness, bring it to room temp first.
- Vegetable oil: Adds moisture without heaviness; any neutral oil works.
- Vanilla extract: Bridges the matcha and frosting, mellowing any bitterness.
- Unsalted butter (softened): Key to a creamy frosting; let it sit out so it whips up light and spreadable.
- Powdered sugar (sifted): For the smoothest, lump-free icing, never skip the sifting step.
- Milk (for frosting): Helps loosen the frosting to just the right consistency.
- Vanilla extract (for frosting): Rounds out the icing with a fragrant sweetness.
- Pinch of salt (for frosting): Gives the frosting richness and depth.
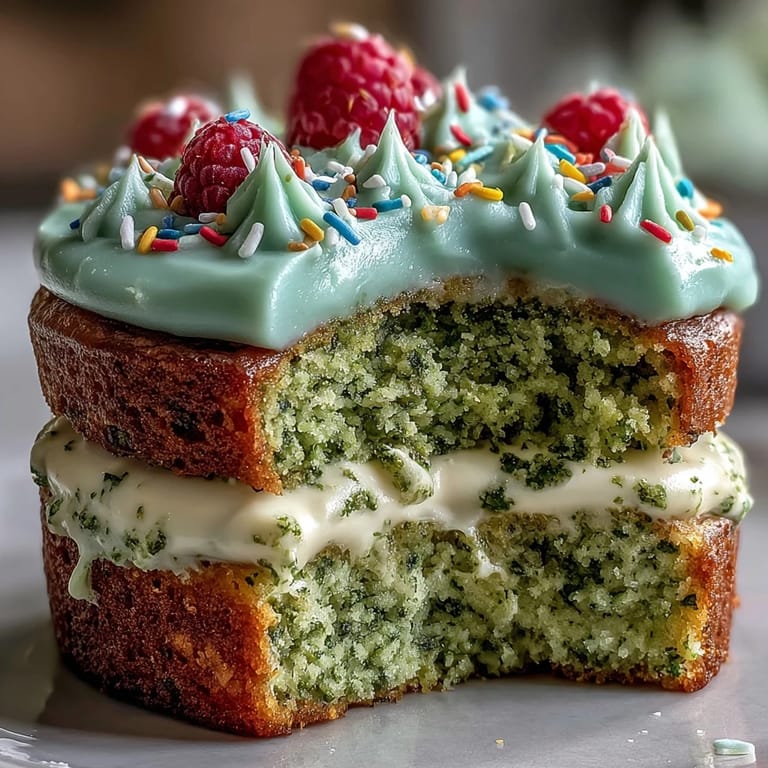
- Sprinkles or fresh berries (optional): A festive finish, and perfect for brunch photos.
Tired of Takeout? 🥡
Get 10 meals you can make faster than delivery arrives. Seriously.
One email. No spam. Unsubscribe anytime.
Instructions
- Get Set Up:
- Preheat the oven to 350°F and line your cake pans, feeling the anticipation build with every brush of parchment paper.
- Sift and Mix:
- Inhale the scent of matcha as you sift the flour, sugar, leaveners, salt, and matcha into a jade-hued hill; making sure there are no stubborn clumps left behind.
- Whisk Wet Ingredients:
- Whisk together milk, egg, oil, and vanilla, listening to the gentle bubble as they combine in a glossy pool.
- Combine and Finish Batter:
- Pour wet into dry, then gently fold together—stop as soon as you see the last flecks of flour disappear so the cake stays light.
- Fill and Bake:
- Divide the batter into the pans, smoothing with care before sliding them into the oven; they’ll be done when your kitchen smells like green tea waffles and a tester comes out clean.
- Cool Down:
- Let the cakes cool for five minutes, then turn out onto a rack and marvel at their springy bounce as they steam away excess heat.
- Make the Frosting:
- Beat softened butter until creamy, then add powdered sugar in cloud-like batches, scraping the bowl so nothing is missed.
- Finish the Frosting:
- Add milk, vanilla, and salt—beat until your icing is pale and velvety, ready for swooping.
- Assemble and Decorate:
- Sandwich the layers with frosting, cloak the outsides in a feathery layer, and shower with sprinkles or berries for a joyous touch.
- Serve and Celebrate:
- Set it out for brunch, arm ready for a playful smash or slice—either way, it’s absolutely delicious.
 Save
Save 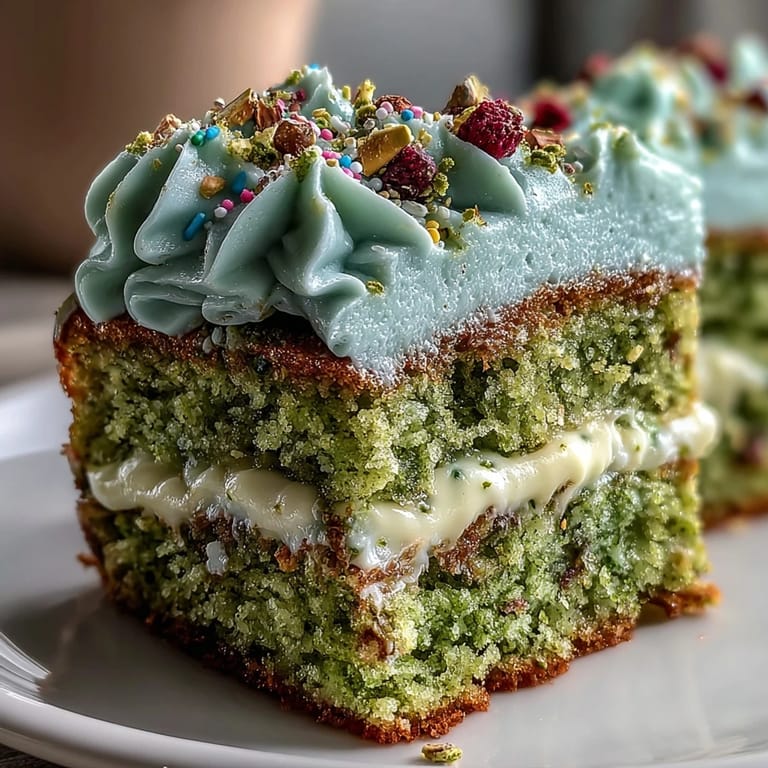 Save
Save This cake turned from just another recipe into a ritual last summer, when my partner and I smashed it open on the patio for brunch—green crumbs everywhere, laughter echoing louder than our neighbor's grill. It was messy, silly, and unforgettable.
The Joy in Mini Cakes
Something about the mini size makes the whole process low-pressure and infinitely more fun. You can experiment freely with toppings, or even double the recipe for more guests. There’s a magic in sharing something so small but celebratory—and everyone seems to want a second slice.
Tricks for a Showstopping Smash
A cake made for smashing should look as lively as its purpose. I find that a thin first layer of frosting (a 'crumb coat') keeps stray crumbs from escaping into your final decoration. Short bursts in the fridge let the icing set perfectly between steps, giving you a clean, photo-ready finish.
Serving Ideas and Leftover Love
For brunch, pair your cake with a matcha latte, or offer bowls of extra berries on the side for guests to pile onto their slices. Don’t stress over leftovers—wrapped tightly in the fridge, any uneaten cake keeps beautifully for up to two days.
- Let your cake layers cool completely before frosting for the neatest result.
- Test the matcha first—a fresher tin delivers bolder color and taste.
- If you're planning a big smash, use a platter to catch crumbs and frosting joy.
 Save
Save  Save
Save Whether you’re celebrating a birthday, a win, or simply making brunch extra playful, this mini matcha cake brings joy by the forkful. Here’s to more reasons to smash cake together.
Recipe Guide
- → How long does the cake take to bake?
Bake the two 4-inch pans for 15–20 minutes at 350°F (175°C), or until a toothpick comes out clean. Cooling in the pans for 5 minutes before turning out helps retain shape.
- → Can I make this dairy-free?
Yes. Use a plant-based milk (soy or oat) and vegan butter in the frosting. The sponge stays tender; chilling briefly before frosting can help with spreading.
- → How do I get a strong matcha flavor without bitterness?
Use culinary or ceremonial-grade matcha and avoid overmixing the batter. One tablespoon gives a bright, balanced matcha note; increase slightly only if using high-quality matcha.
- → What are good decoration ideas?
Top with fresh berries, edible flowers, or a sprinkle of extra matcha. Keep the outer frost layer thin for the intended smash effect, and add sprinkles for playful visuals.
- → Can I scale this up for a larger crowd?
You can double or triple the ingredients and bake in larger pans, though bake times will increase. For the same mini aesthetic, bake multiple small pans rather than one large cake.
- → How should leftovers be stored?
Store covered in the refrigerator for up to 2 days; bring to room temperature before serving to restore crumb softness. Best enjoyed the same day for peak texture.