 Save
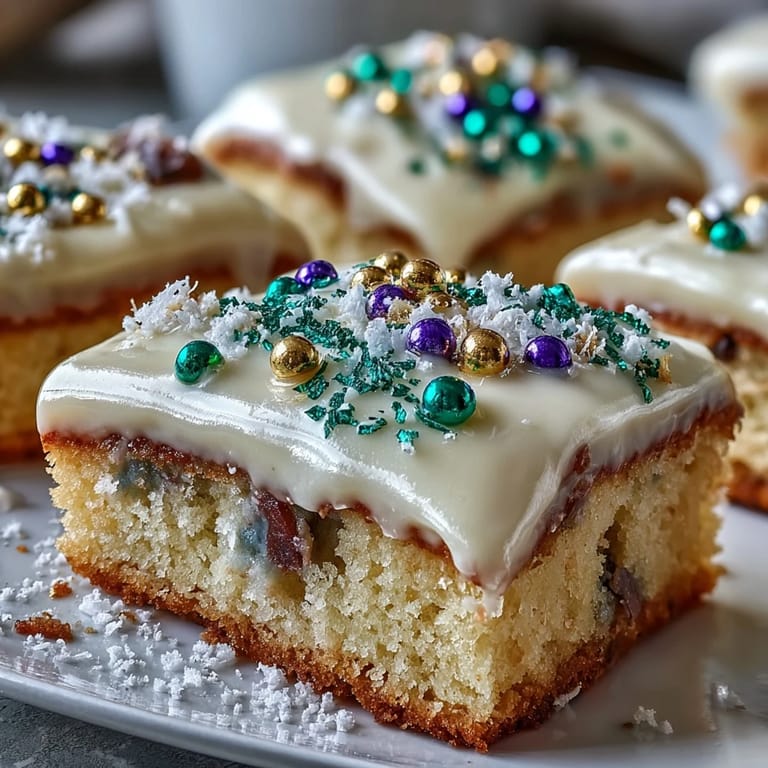
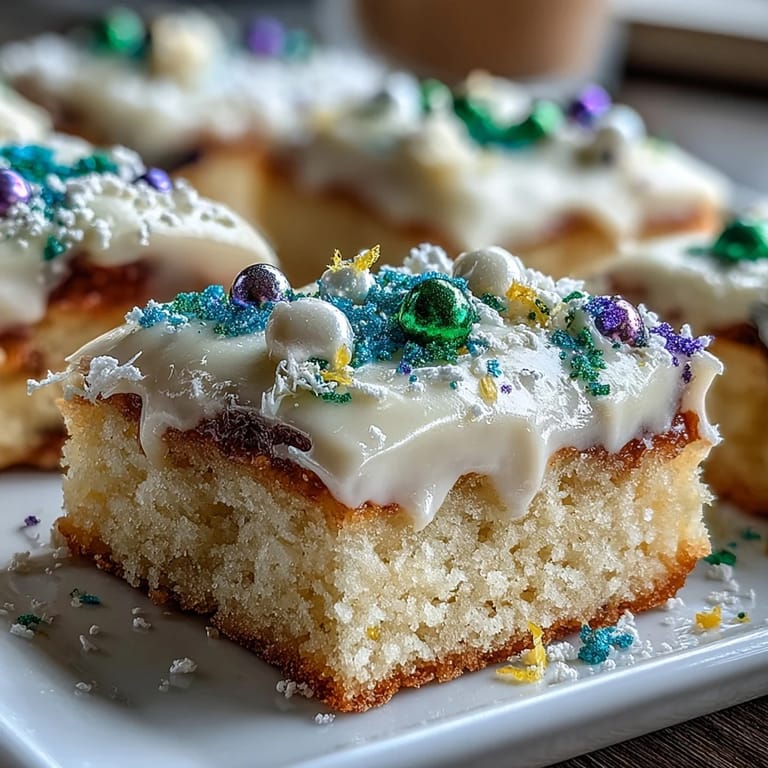
Save My neighbor threw together these King Cake sugar cookie bars last January, and honestly, I've been chasing that same magic ever since. There's something about how the buttery cookie base holds up perfectly to a thick layer of icing that just tastes like celebration—no fancy techniques required, just straightforward baking that somehow feels fancy anyway. She'd hidden a tiny plastic baby in one of the bars as a joke, and watching everyone nervously bite down became the highlight of her Mardi Gras party. Now whenever someone asks for a festive dessert that doesn't demand hours in the kitchen, these are the bars I reach for.
I made these for the first time when my daughter's classroom was doing a Mardi Gras unit in February, and I still remember the smell hitting me the moment I walked into the kitchen—buttery and warm, with this subtle citrus note that made me pause mid-task. The icing was still wet when I started sprinkling the colors, and watching the sanding sugar catch the light while kids' voices carried up from outside made the whole thing feel less like a task and more like creating something that mattered.
Ingredients
- Unsalted butter, softened: This is your flavor foundation—using softened butter means your sugar will cream properly without lumps, creating that tender crumb you want.
- Granulated sugar: The standard choice here; it dissolves into the butter smoothly and gives you the right structure for a bar cookie.
- Eggs: They bind everything together and add richness, but bring them to room temperature if you have time—they incorporate more evenly that way.
- Vanilla and almond extracts: Vanilla is essential, but that almond extract is the whispered secret that makes people ask what you did differently.
- All-purpose flour: Measure by weight if you can; it keeps the bars from becoming dense or dry.
- Baking powder: Just enough to give the cookies a subtle lift without making them cakey.
- Cinnamon and lemon zest: These add warmth and brightness that feel unmistakably festive without overpowering the vanilla sweetness.
- Powdered sugar for icing: Make sure it's fresh; old powdered sugar can lump up and ruin your icing's silky texture.
- Purple, green, and gold sanding sugar: This is where the party happens—don't skip the sanding sugar and substitute regular sprinkles if you want that genuine King Cake look.
Tired of Takeout? 🥡
Get 10 meals you can make faster than delivery arrives. Seriously.
One email. No spam. Unsubscribe anytime.
Instructions
- Prepare your pan:
- Preheat the oven to 350°F and line your 9x13-inch pan with parchment paper, letting it hang over the sides. This overhang becomes your handle for lifting the whole thing out later, saving you from trying to slice bars out of a pan.
- Cream the butter and sugar:
- Beat them together for 2-3 minutes until the mixture is pale and fluffy—this isn't just mixing, it's incorporating air that will make your bars tender. You'll know it's ready when it looks almost like wet sand with a slight sheen.
- Add eggs and extracts:
- Drop in eggs one at a time, letting each one fully incorporate before adding the next, then pour in your vanilla, almond extract if using it, and lemon zest. The mixture might look slightly curdled at first, but keep beating and it'll come together beautifully.
- Combine dry ingredients:
- Whisk together flour, baking powder, salt, and cinnamon in a separate bowl so the baking powder distributes evenly. This small step prevents pockets of baking powder that could taste bitter.
- Bring wet and dry together:
- Add the dry mixture to the creamed mixture, stirring just until combined. Overmixing at this point develops gluten and makes bars tough, so stop as soon as you don't see streaks of flour anymore.
- Spread and bake:
- Press the dough evenly into your prepared pan using a spatula—wet hands or the spatula bottom helps prevent sticking. Bake for 22-25 minutes until the edges are lightly golden and the center springs back when you gently touch it.
- Cool completely:
- Let the bars cool in the pan on a wire rack for at least an hour; this prevents the icing from melting into a puddle. Patience here actually saves you work later.
- Make your icing:
- Whisk powdered sugar, milk, and vanilla together until it reaches a pourable consistency—thick enough to coat but thin enough to spread easily. If it's too thick, add milk a teaspoon at a time until it's right.
- Ice and decorate:
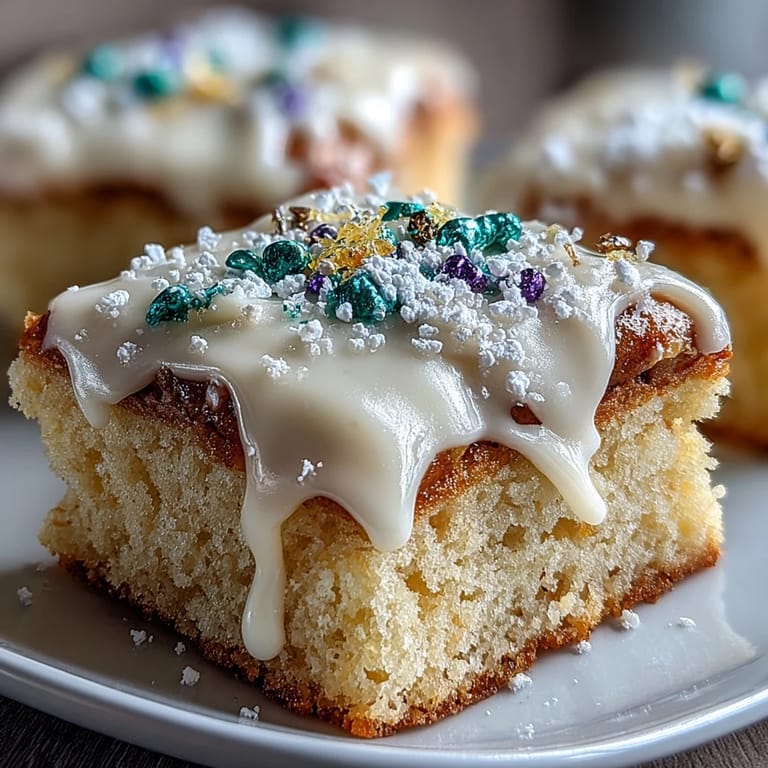
- Spread icing over the cooled bars, then immediately sprinkle your three colors in sections or stripes while the icing is still wet. The wetness helps the sanding sugar stick and prevents it from sliding off later.
- Set before serving:
- Wait about 30 minutes for the icing to firm up before cutting and serving. Using a sharp knife dipped in warm water between cuts gives you cleaner edges.
 Save
Save There's something quietly wonderful about making these bars on a quiet weekend morning, when the kitchen is yours alone and the oven warmth feels like the coziest thing happening in the whole house. By the time they're decorated and waiting to be sliced, you've created something that looks like it took hours but only asked for maybe 45 minutes of your time.
The Mardi Gras Tradition Behind These Bars
King Cake is the centerpiece of Mardi Gras tradition—it's eaten during the entire carnival season and typically contains a hidden object inside, traditionally a dried bean but now often a plastic baby. The colors purple, green, and gold each symbolize something: justice, faith, and power respectively. By turning this iconic dessert into bars, you're keeping the tradition alive while making it infinitely more practical for modern gatherings where sliding someone a whole cake isn't always feasible.
Why the Lemon Zest Makes All the Difference
The lemon zest in these bars does something subtle but crucial—it adds brightness that keeps the sweetness from feeling cloying and prevents the whole thing from tasting one-dimensional. Without it, these would just taste like sweet sugar cookies, but with that citrus whisper, they taste intentional and special. Orange zest works beautifully too if you want to shift the flavor slightly toward citrus complexity.
Storage, Gifting, and Make-Ahead Strategies
These bars are honestly one of the most forgiving desserts to make ahead—you can bake them a day or two before your event and store them in an airtight container without losing texture or flavor. The icing keeps them moist and acts as a seal, and the sanding sugar decorations actually look fresher the day after they're made as the icing sets completely firm. If you're bringing them to a party or giving them as gifts, stack them between parchment in a sturdy box and they'll travel beautifully.
- Make them up to 48 hours ahead and keep them in an airtight container at room temperature.
- You can even freeze the undecorated cooled bars for up to three months, then ice and decorate them fresh for a party.
- If you're mailing these to someone, wait until the icing is completely firm, then wrap individually and pack tight—they're sturdy enough to survive shipping.
 Save
Save These bars have become the dessert I make when I want to feel like I'm throwing a real party without spending my entire day in the kitchen. They're festive without being fussy, and somehow they always disappear faster than you'd expect.
Recipe Guide
- → What gives these bars their festive colors?
The vibrant purple, green, and gold sanding sugars or sprinkles decorate the icing, creating the iconic Mardi Gras color palette.
- → Can the almond extract be omitted?
Yes, almond extract is optional and can be left out without affecting the overall flavor too much.
- → How should the bars be stored after baking?
Keep the bars in an airtight container at room temperature for 1-2 days to maintain freshness and texture.
- → Is it possible to use orange zest instead of lemon zest?
Absolutely, swapping lemon zest for orange zest adds a different citrus note while keeping the bright flavor.
- → What is the best way to avoid overbaking the cookie bars?
Bake until the edges turn lightly golden and the center is set, usually between 22–25 minutes, to ensure a tender texture.
- → Can I prepare these bars in advance?
Yes, these bars can be made 1 to 2 days ahead and stored properly, making them convenient for celebrations.