 Save
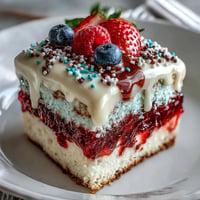
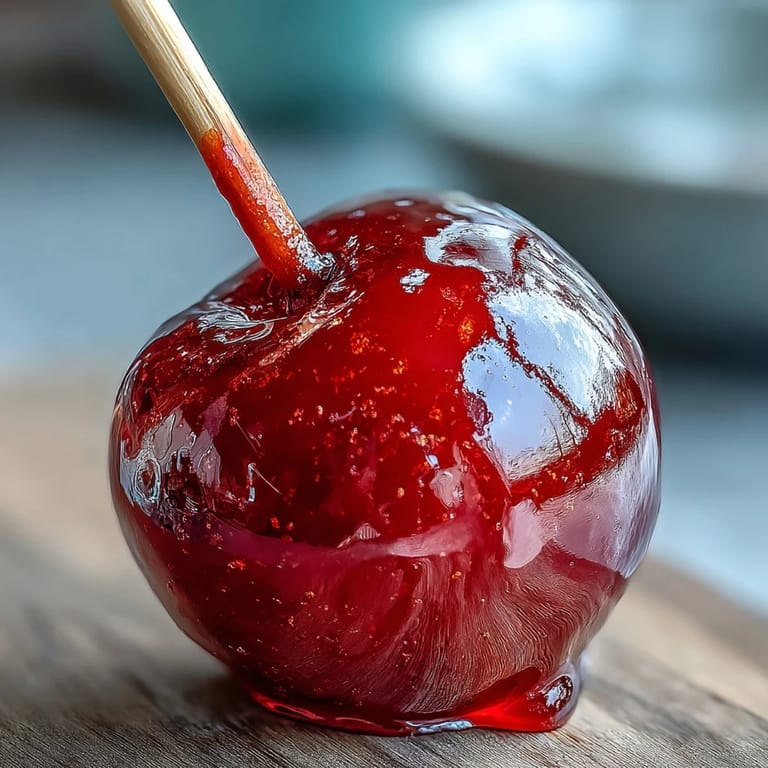
Save My nephew's face lit up the moment he saw the glossy red candy apples sitting on the kitchen counter, each one catching the light like a tiny jewel. I'd made them the night before his birthday party, and honestly, I was just as excited as he was—there's something about that satisfying crack when you bite through the candy shell into the tart apple flesh. These miniature versions feel like edible toys, and they're deceptively simple to make once you understand the candy thermometer's quiet warnings.
I'll never forget watching my coworker Sarah's daughter at the office bake sale—she picked up one of these mini candy apples and just stared at it for a solid minute, admiring it before eating it. That's when I realized these aren't just treats; they're little moments of joy you can hold in your hand. Since then, I've made them for every autumn gathering, and they've become the dessert people ask about before the invitation even arrives.
Ingredients
- Small apples (Gala or Fuji) or crabapples: Choose firm, unblemished fruit because soft spots will collapse under the heat; the smaller varieties mean each person gets a perfect single-bite or two-bite moment without the commitment of a full-sized candy apple.
- Granulated sugar: This is your foundation—don't skip the corn syrup, as it prevents crystallization and gives you that glossy, glass-like finish that makes the apples look almost edible jewelry.
- Light corn syrup: The secret weapon that keeps your candy from turning grainy; I learned this the hard way after my first batch turned sandy and dull.
- Water: Seems simple, but this ratio matters—too much and your candy won't set, too little and you risk burning the sugar before it reaches the right temperature.
- Red gel food coloring: Gel holds its color better than liquid dye, which can water down your mixture; add it after the heat is off so you don't cook away the vibrant red.
- Wooden sticks: Insert them firmly into the apple's stem end or bottom; a loose stick will spin freely in the melted candy and ruin your dipping rhythm.
- Nonstick cooking spray or parchment paper: This prevents sticking disasters and makes cleanup feel like an afterthought rather than a kitchen tragedy.
Tired of Takeout? 🥡
Get 10 meals you can make faster than delivery arrives. Seriously.
One email. No spam. Unsubscribe anytime.
Instructions
- Prepare your apples with care:
- Wash each apple under cool running water and pat dry completely—any moisture will cause sputtering when the hot candy meets the fruit. If using larger apples, halve them and scoop out the seeds with a melon baller, then push a wooden stick in firmly; the stick should feel secure enough that you could swing it gently without it budging.
- Set up your station:
- Line a baking sheet with parchment paper or place a silicone mat, lightly sprayed with nonstick spray. Having everything ready means you won't be fumbling when the candy reaches temperature and needs immediate attention.
- Combine and dissolve:
- Pour sugar, corn syrup, and water into a medium saucepan and stir over medium heat until the sugar granules completely dissolve—you're looking for a clear liquid with no gritty texture, which takes about 3-4 minutes. Once dissolved, stop stirring; stirring after this point invites crystallization and a gritty candy shell.
- Heat to the hard crack stage:
- Turn heat to high and let the mixture boil without touching it—watch the thermometer carefully as it climbs toward 290°F, which takes about 8-10 minutes and signals the hard crack stage. You'll notice the bubbles change from large and lazy to small and vigorous; that's your visual cue that you're getting close.
- Add color at the finish line:
- Once the thermometer hits 290°F, remove the pan from heat and let it settle for just 10 seconds before stirring in the red gel food coloring. Stir quickly but carefully until the color is completely even throughout.
- Dip with confidence:
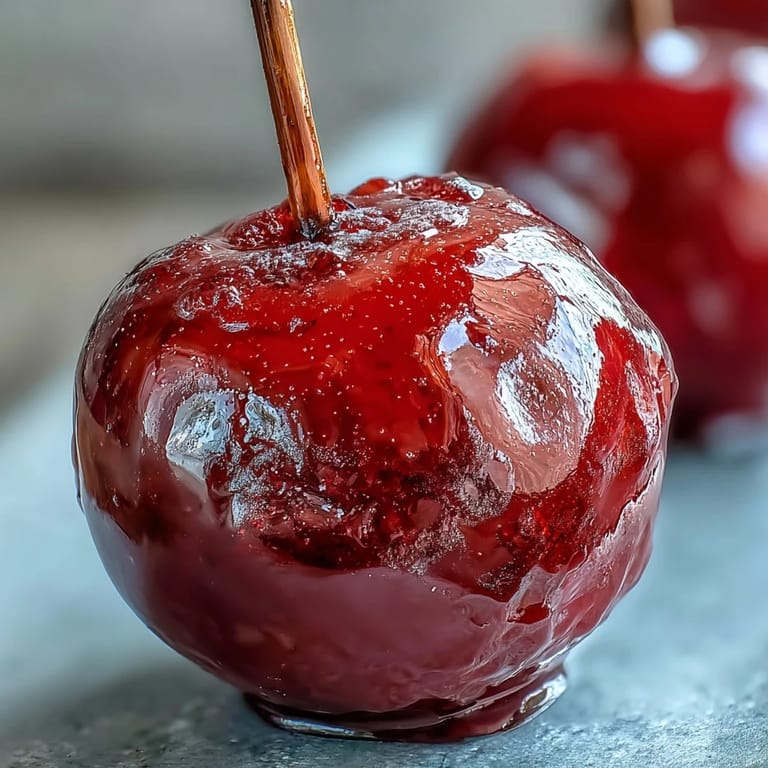
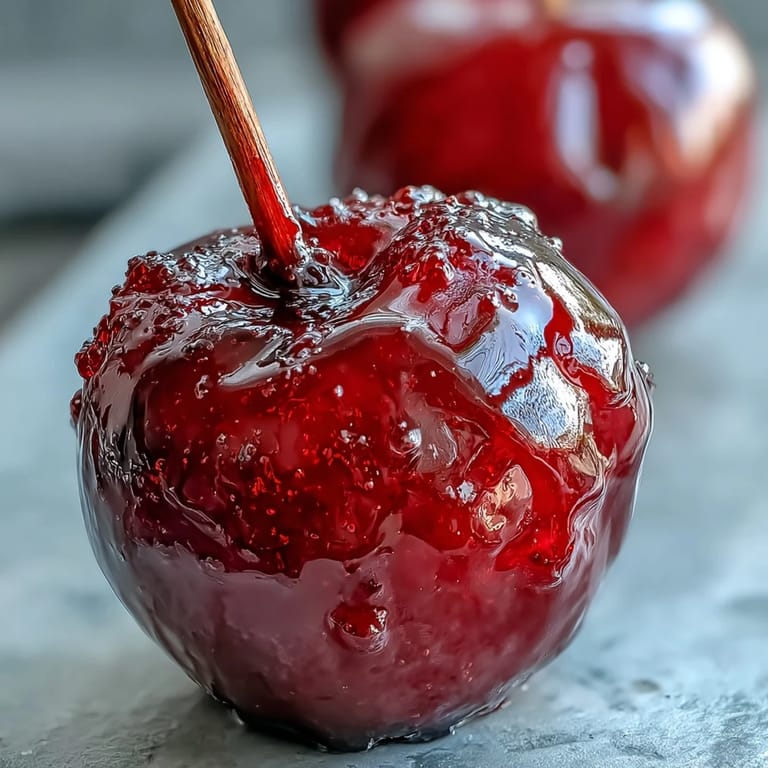
- Working quickly before the candy cools and thickens, hold each apple by its stick and dip it into the hot coating, swirling gently so the candy clings evenly. The excess will drip off in a few seconds—let it finish dripping before placing the apple on your prepared baking sheet.
- Let them set and harden:
- Leave the apples undisturbed at room temperature for about 10 minutes; this is when the magic happens and that gorgeous shell transforms from liquid to that satisfying crunch. Resist the urge to touch them or move them around—patience now means perfection later.
 Save
Save There's a special kind of magic in watching someone's eyes discover that first crack of candy shell before the tartness of the apple hits. My daughter still talks about the time she made these with her grandmother, not because they were perfect, but because her grandma let her choose the stick color and told her stories about making candy as a child.
Flavor Variations That Feel Fresh
Once you nail the basic red, the door opens to endless color combinations—emerald green, sapphire blue, even sunset orange. I've dipped some apples in sprinkles before the candy hardened, crushed cookies for a rustic look, and even mini chocolate chips for a speckled effect. The key is working in small batches; if your candy cools too much, microwave it for 15-20 seconds to loosen it back up without breaking it down.
Timing and Temperature Mastery
Temperature is everything with candy, and that 290°F mark is your golden ticket to the hard crack stage where the coating sets with a satisfying snap. I've found that if you're dipping multiple batches, the candy gradually cools and thickens slightly; you might need to reheat it gently if it gets too stiff. Watch for the subtle shift in bubble behavior during cooking—large, rolling bubbles mean you're still at soft ball stage, while smaller, more frantic bubbles signal you're approaching hard crack.
Storage and Presentation Secrets
These apples stay beautiful and crisp for 24 hours if you keep them in a cool, dry place away from humidity—a cake dome or even a paper grocery bag works perfectly. I've arranged them in a vintage vase with tissue paper for gifts, lined them up on a dessert table with small cards labeling the flavors, and even packaged them individually in cellophane with ribbon for party favors. One last thought: if you're making these for very young children, supervise the eating because that candy shell is genuinely hard and requires a bit of jaw strength to crack through.
- Make the candy mixture about 15 minutes before dipping so it cools just enough to handle safely while still flowing smoothly.
- If the candy seizes or crystallizes during cooking, start over rather than trying to rescue it—sugar doesn't forgive halfway measures.
- Keep a glass of cool water nearby while dipping in case of accidental splatters, and always respect hot candy like you would hot oil.
 Save
Save These little candy apples remind me that sometimes the best desserts aren't complicated—they're just executed with attention and a little love. Make them, watch the joy unfold, and enjoy the crunch.
Recipe Guide
- → What type of apples work best for mini candy apples?
Small varieties like Gala, Fuji, or crabapples are ideal as their size suits bite-sized treats and they hold well on sticks.
- → How do I know when the candy coating is ready?
Cook the sugar mixture to the hard crack stage, about 290°F (143°C), to ensure a crisp, hard candy shell after cooling.
- → Can I add flavors or colors to the candy coating?
Yes, adding gel food coloring or flavor extracts like vanilla or cinnamon can personalize the coating without affecting its texture.
- → How should I store the candy-coated apples?
Keep them at room temperature in a dry place; refrigeration can cause the candy shell to become sticky and lose its crunch.
- → Are there tips for adding decorations?
For extra fun, dip the coated apples in sprinkles, crushed cookies, or mini chocolate chips before the candy hardens to create festive textures.